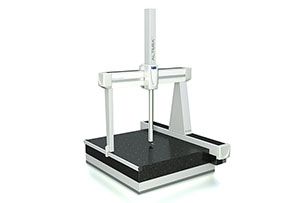
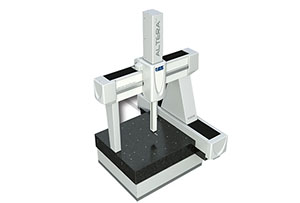
The Nikon CMM should calibrate the probe before measurement. This is a very important work step that must be done before the measurement, because the measurement error of the probe calibration will be added to the following part. Below, let's talk about why the probe should be calibrated before using the Nikon three-coordinate.
1. Obtain the compensation diameter of the ruby ball of the stylus. As a measured Nikon coordinate measuring instrument, after the measuring needle is touched by the stone ball to the measured part of the measuring part, the touch measuring signal of the measuring head (sensor), and the signal enters the counting system, the raster counter at the moment is latched and sent. To the computer, the job measurement software is received by X, Y, and Z coordinate points. This coordinate point can be understood as the center coordinate of the needle gem ball, which is a stone ball radius away from the contact point between the ball and the workpiece that we really need. In order to accurately calculate the required contact point coordinates, half/diameter of the needle gem ball must be obtained by head correction.
2. The relationship between the position of the different stylus and the position of the first stylus. In the actual measurement, the parts can not be moved and rotated at will, which is convenient for measurement. It is necessary to select the position, shape and length of the needle (star, column, needle) according to the actual situation. In order for components measured by these different probe positions and different needles to be directly calculated, the relationship between them should be measured and converted during the calculation. Therefore, head measurement correction is required

